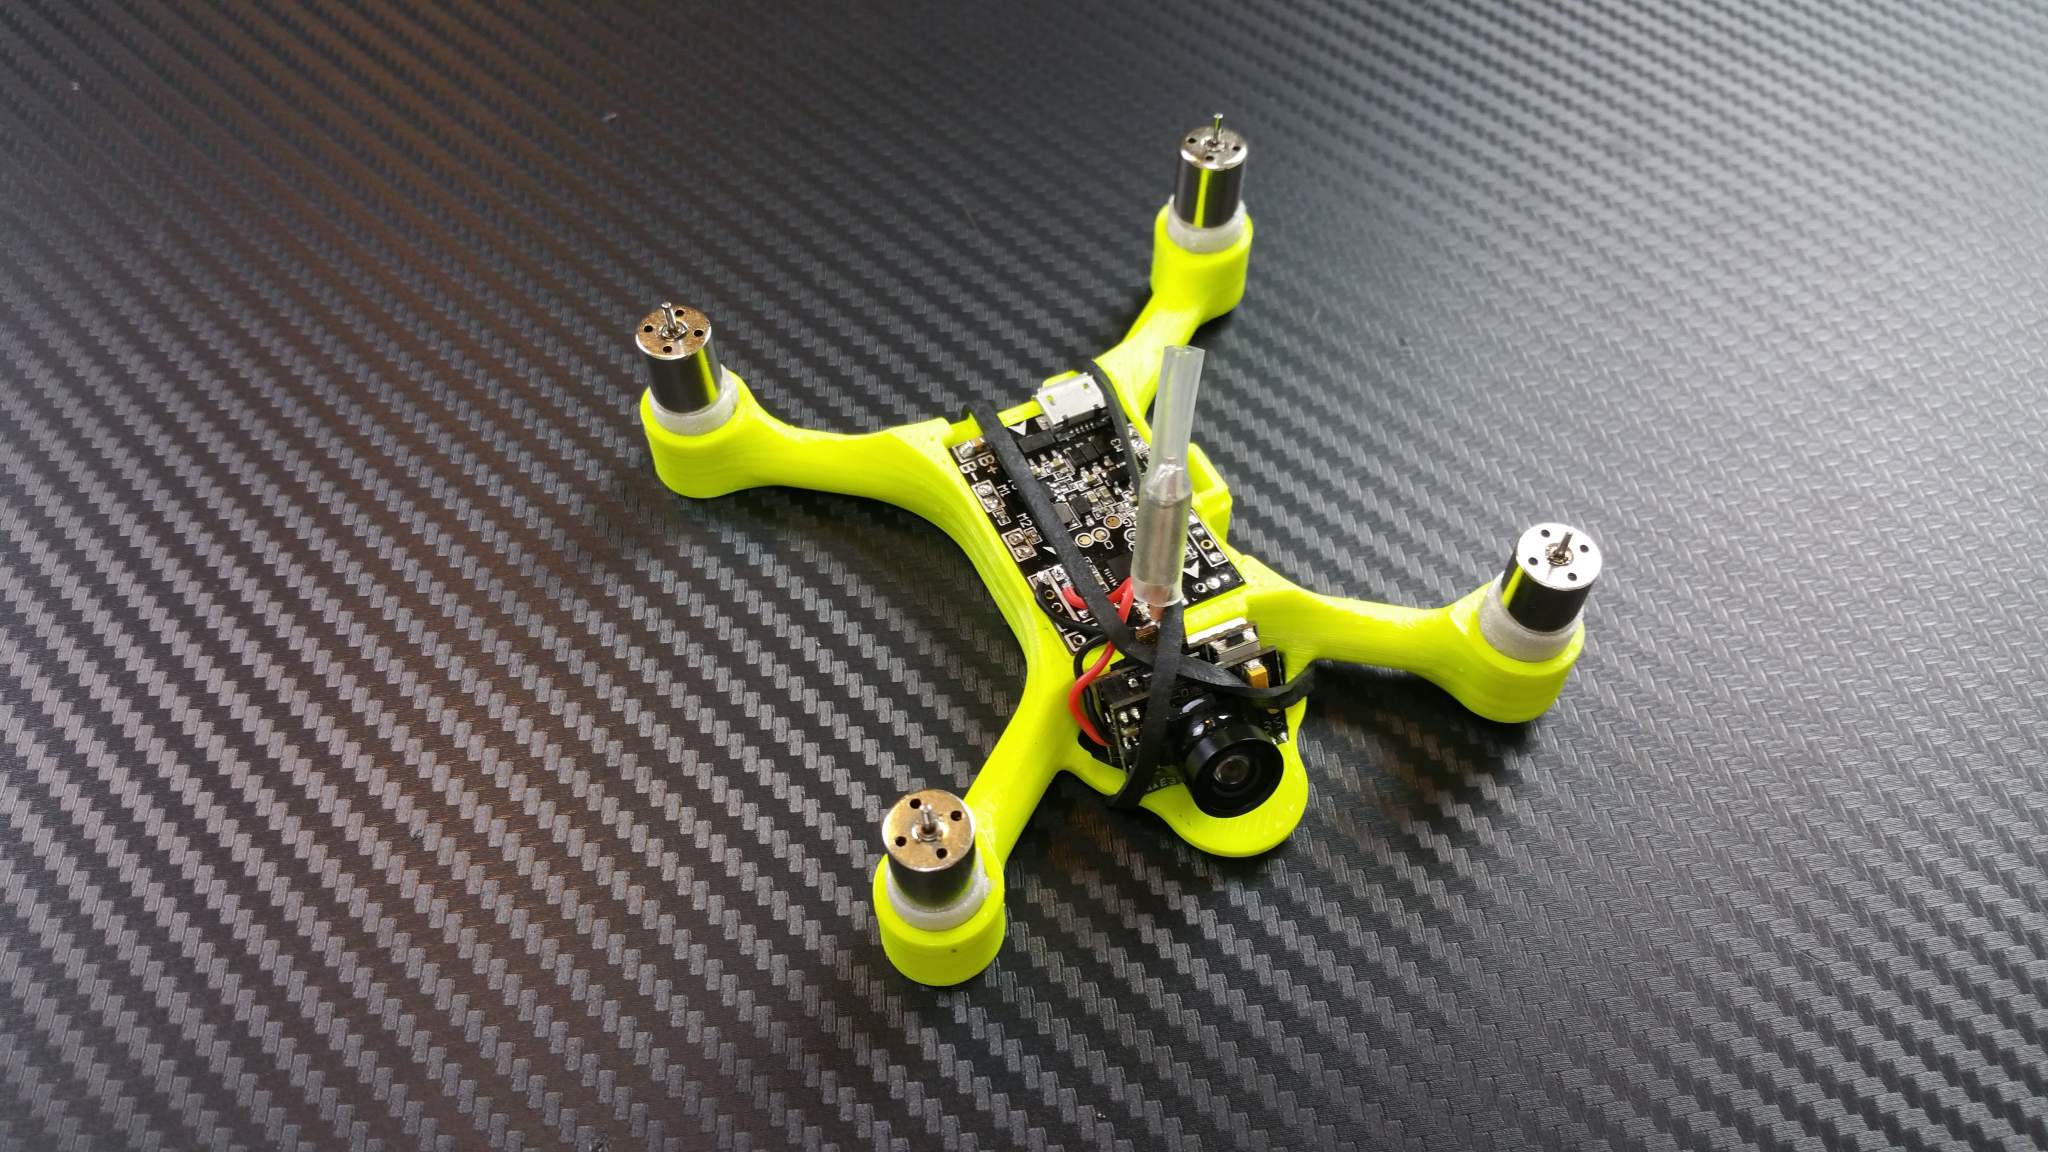
3D printing has become ubiquitous with FPV drones in the last couple years. Every new drone comes with some sort of prints or accessories, and a lot of configurations require prints to be functional. Companies usually cater to the most popular kit (DJI at the time of writing this) and if you run different electronics, antenna setup or gps, you’ll need some additional parts to make everything fit. FPV drones usually go through quite a beating, thus having good and strong prints makes your frame and parts last longer. In this post I’ll go over the printing techniques and settings to have successful and strong prints.

3D printing has been around for a while and a lot of cheap printers are now really good and produce great prints. For drones, we usually use a plastic called TPU (Thermoplastic Polyurethane), it’s a flexible plastic that has great layer adhesion and great resilience to impacts and bending. It’s the preferred plastic by most to make parts that’ll last on FPV drones, since they do not break on impact. The only downside of that plastic is the weight compared to similar PLA prints. To have a strong TPU part you need more infill and walls, which results in heavier parts.
With TPU, you’ll want to have a direct drive extruder, a bowens mount printer will have a hard time pushing the filament through and may cause blockages because the filament is flexible.
You can use any build plate with some glue to have good first layer adhesion, but a textured PEI plate will make the process much easier.
Settings will vary greatly depending on you printer, what I’ve experimented with over the years with multiple printers has given me a good idea of what works and what doesn't.I recommend going with a 0.4mm, 0.6mm or 0.8mm nozzle for TPU, the bigger the nozzle, the faster your part prints, but the quality goes down too. 0.4 is most commonly used and will produce great quality, without sacrificing printing efficiency.
A good start is to look at your filament to see the recommended settings, usually located directly on the reel. This will tell you the ideal temperature range, and sometimes, the max print speed.
Printing speed will totally depend on your printer. For example, my Creality Ender s1 can print 95A TPU at good quality at around 60mm/sec, where as my Bambulab X1c can print comfortably at 300mm/sec. You will have to test your printer to figure out the speed and quality balance by playing around in your slicer (I recommend Ultimaker Cura or Prusa Slicer).
You want to position your prints in a way where the forces will be applied the right way. FDM printers all work the same way, and the weakest part of prints is the layer adhesion. Hence why the orientation of your print is crucial. The way I print the part will decide in which orientation its strength is. TPU filament has really good layer adhesion but the strongest orientation is still following the grain, the adhesion between layers is still going to be the weakpoint. By thinking about how your prints are oriented, you’ll have stronger prints and will be more thoughtful when you design your own parts.
Your first layer will decide if you have a successful print or not. If your printer does its bed leveling and z offset with a probe, you don’t have to worry as much. If your printer has manual adjustments, make sure your bed is level and your Z-offset is spot-on. The usual gauge to have the right offset is at Z0, you should be able to move a sheet of paper with a bit of resistance under the nozzle.
With all of this you should be able to start experimenting and printing parts for your quad. If you have any questions or want to get your parts printed at our store, send a email to info@epicfpv.ca